I set my sights this year on portraying my Miqo’te (catgirl) FFXIV character, Rinala. Partly because since my previous cosplay, I acquired Cosgear’s Costail product, so now I could make a nice lively tail. Sort of. More on that later.
This took me about two solid months of work, from mid-August to mid-October, plus some scattered crafting earlier in the year.
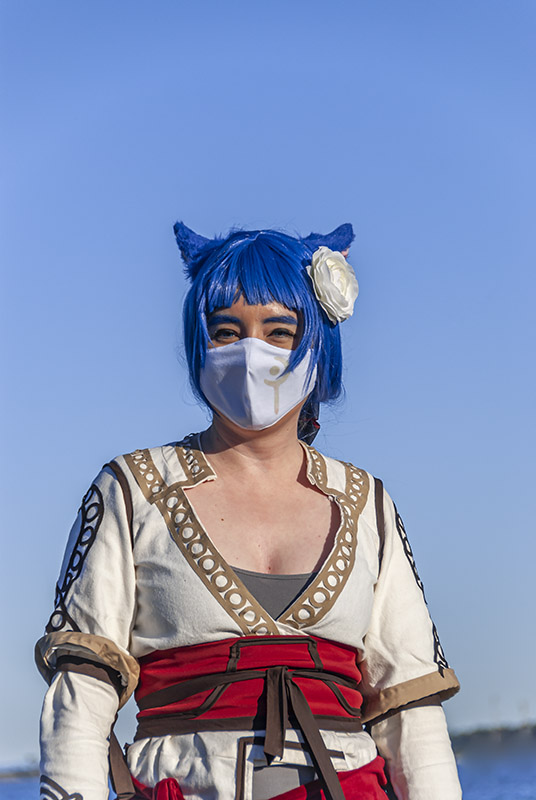
I looked very hard for this mask with a white mage symbol on it! I didn’t want one that was too busy or too dark, one that had a nice pure innocent WHM feel to it. I did also find one from Hiodollz that was very pretty, but it looks like they don’t make it anymore.
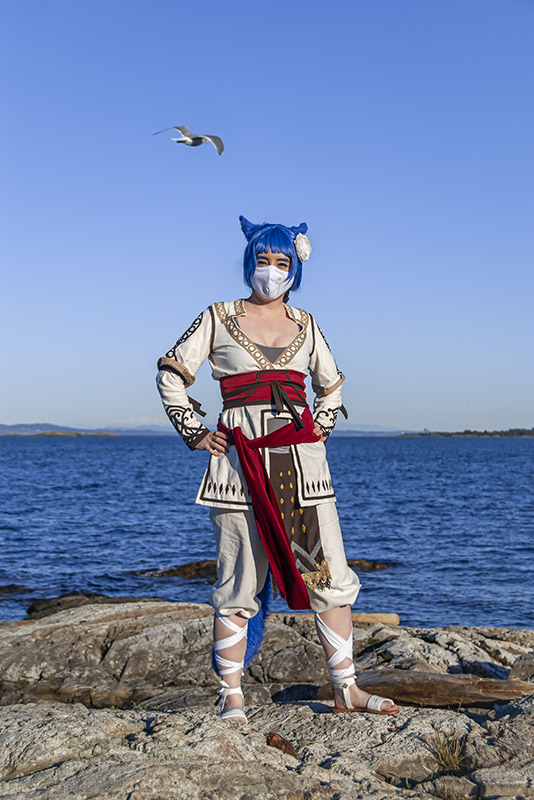
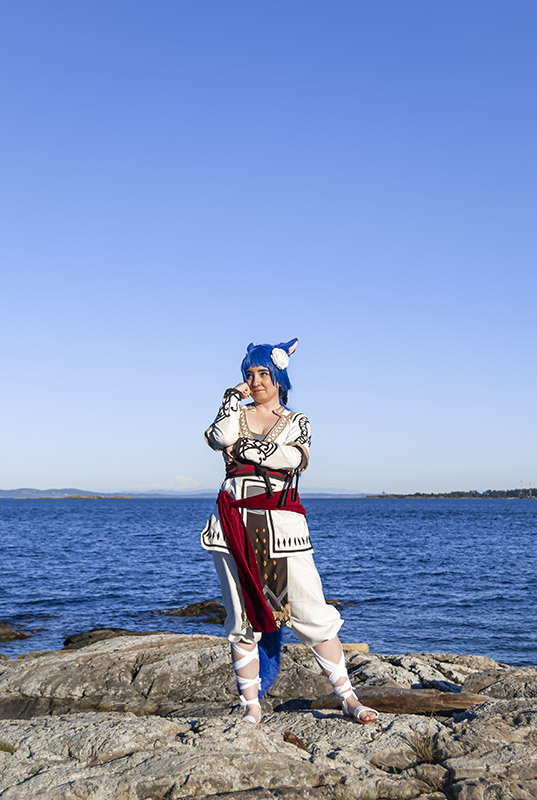
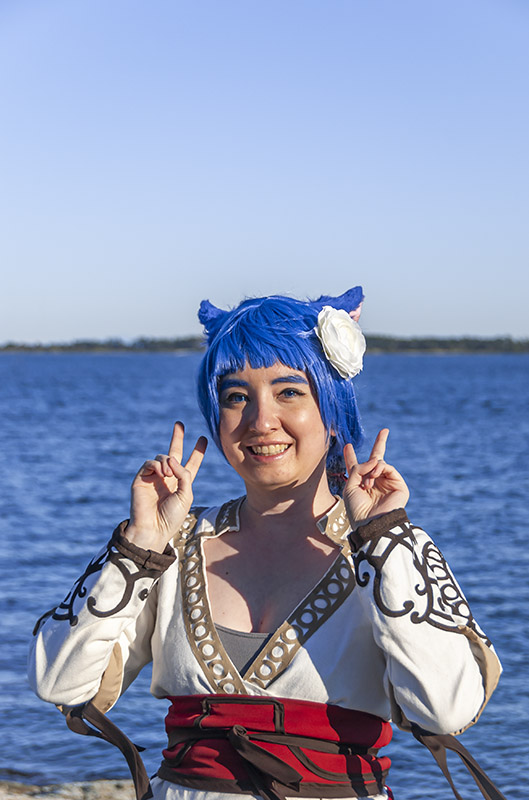
/pose
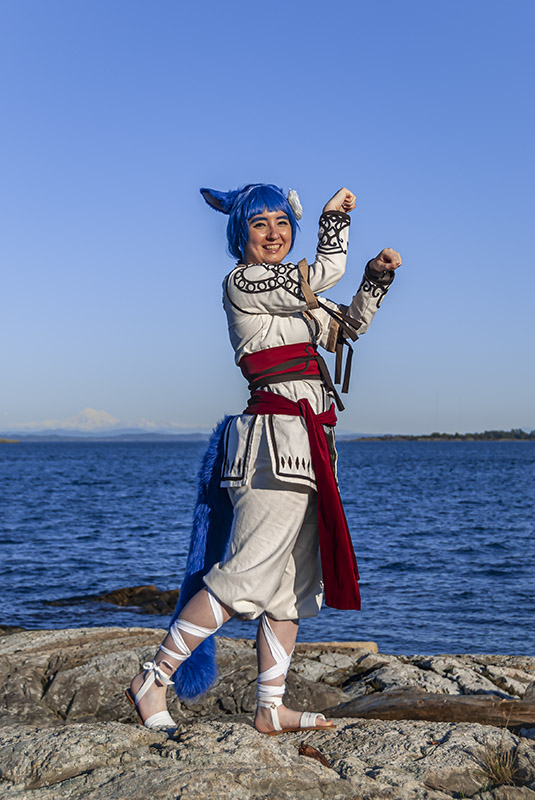
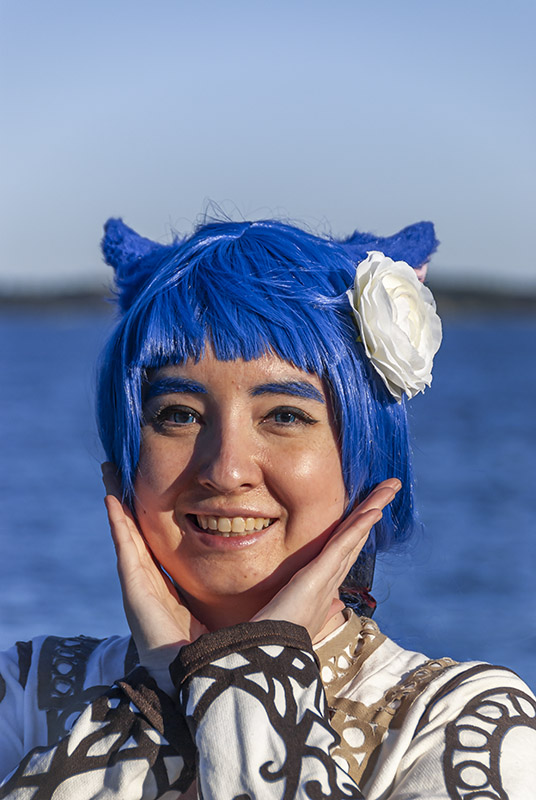
/shocked, /grin
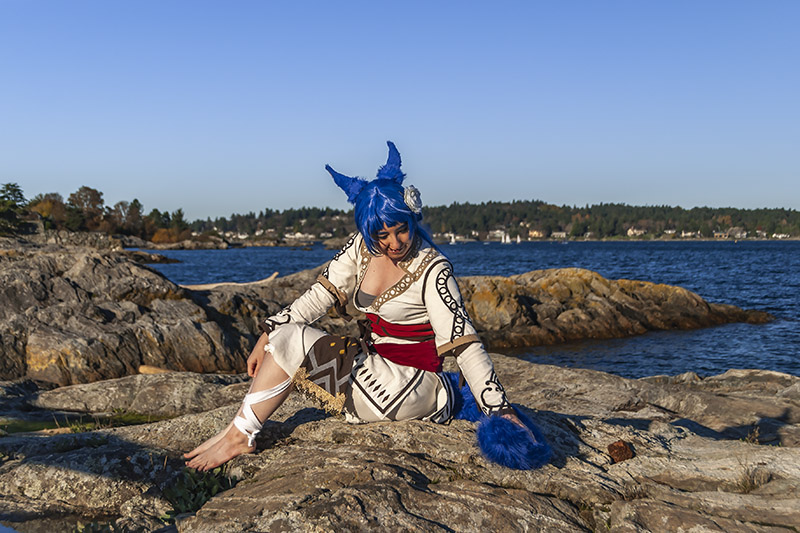
/think
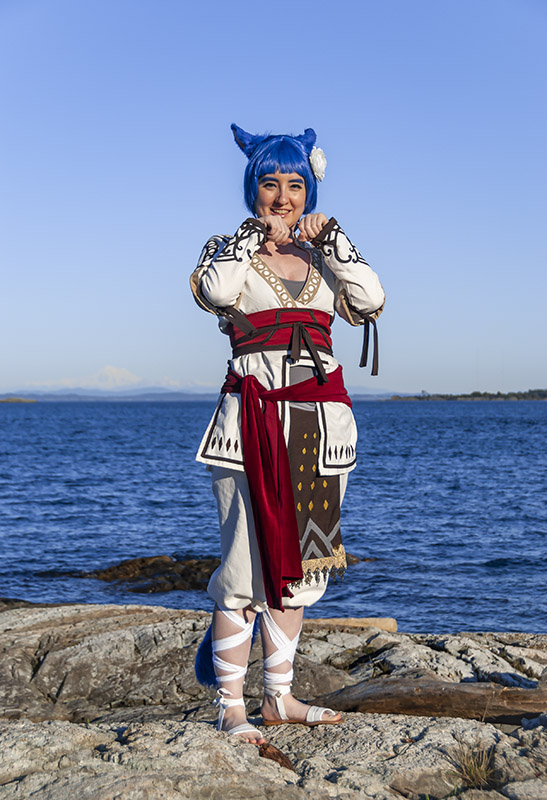
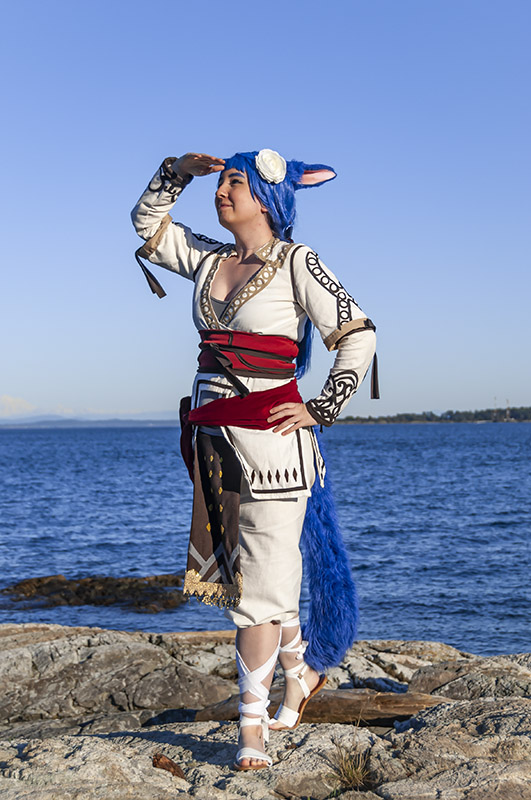
/lookout
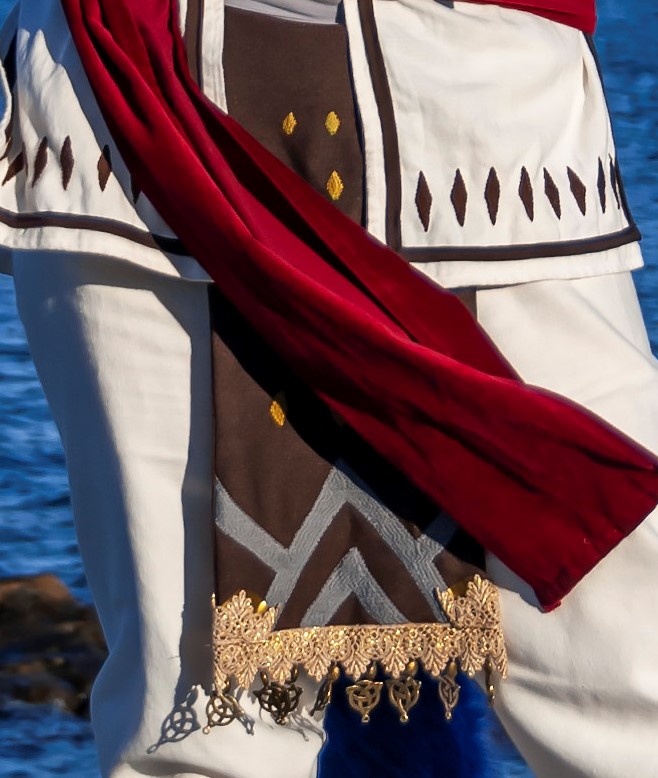
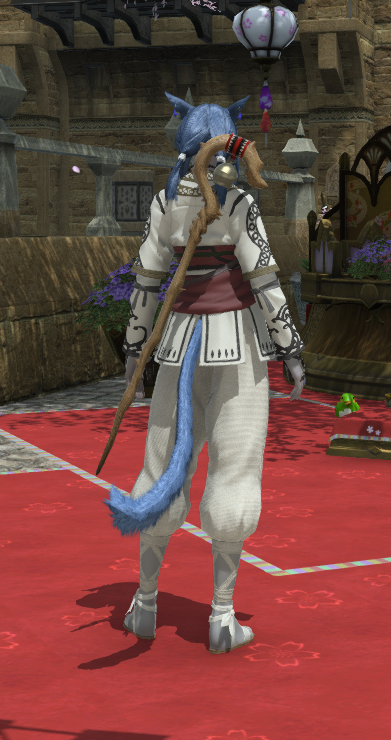
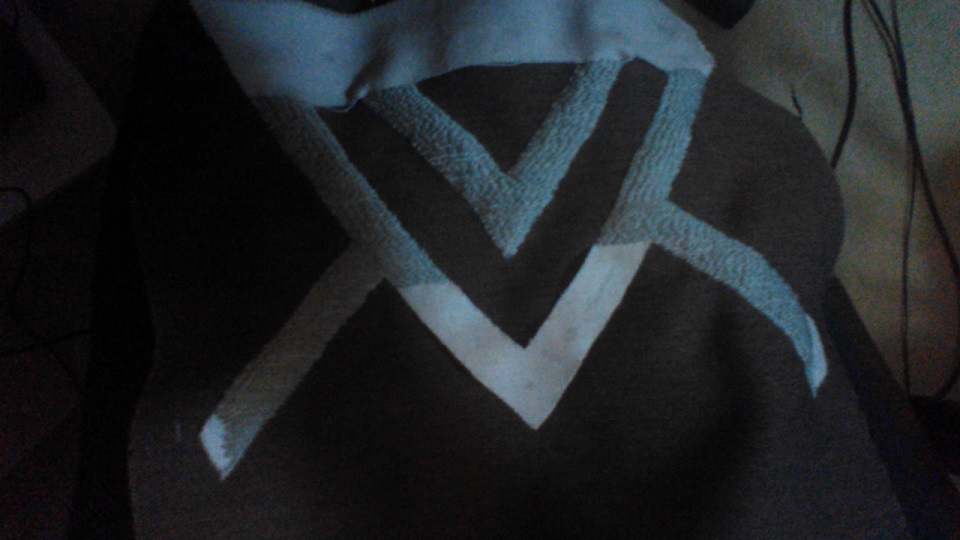
Apron detail – it’s not identical to the game, but I think I adapted it pretty well for what I had to work with. Also I want to point out that the main body of the fabric, despite apparently being furniture fabric and having a rather loose weave, is surprisingly warm. Even though it was October, I really just needed a scarf to stay warm, no extra coats or sweaters.
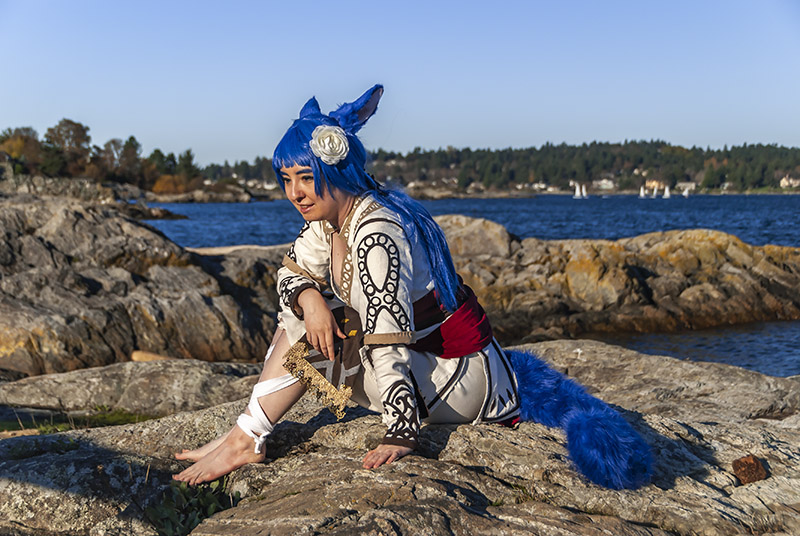
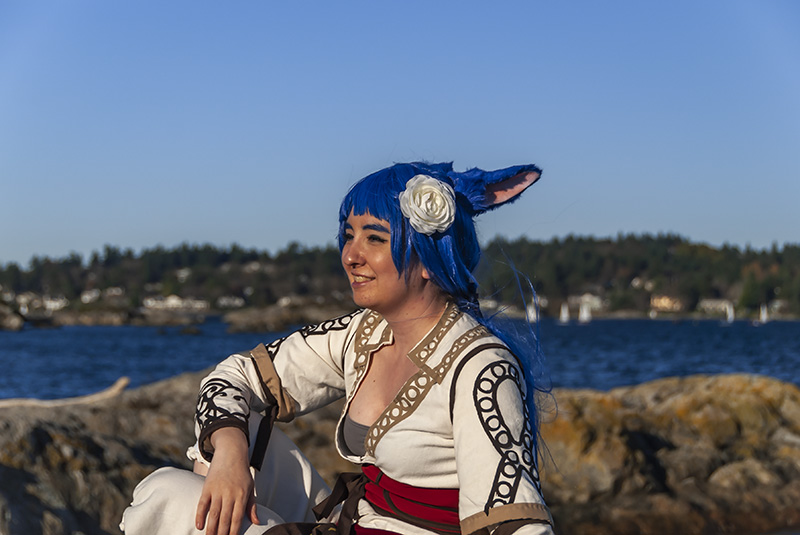
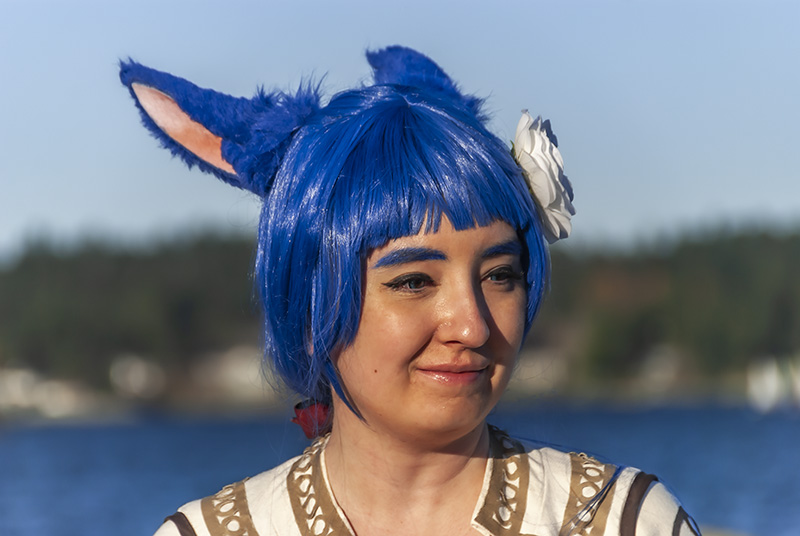
That’s not photoshop (besides a bit of normal photo processing) – everything that looks blue is also blue irl : )
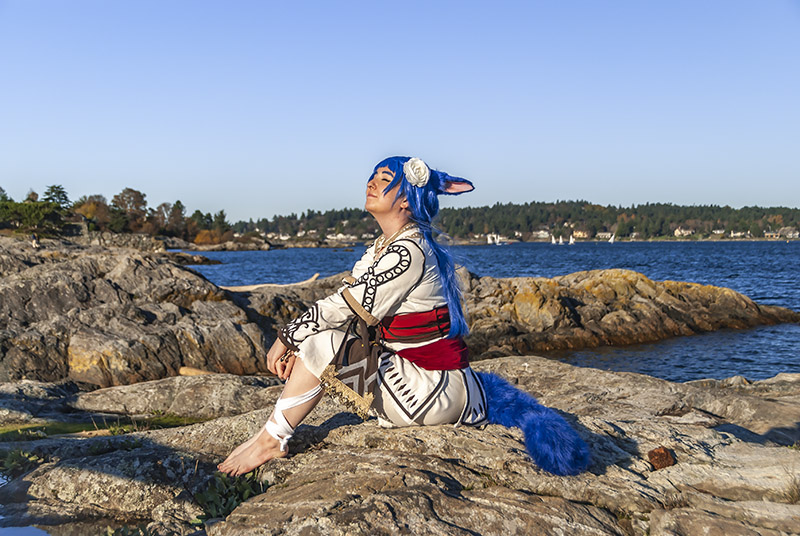
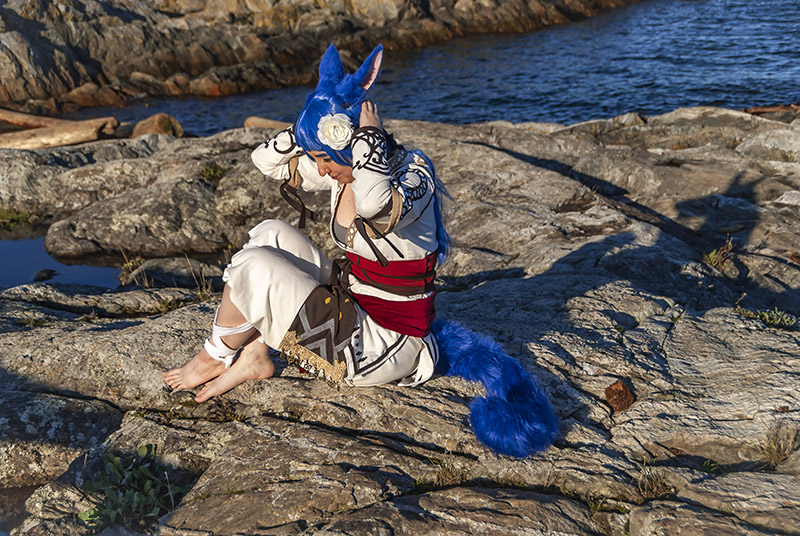
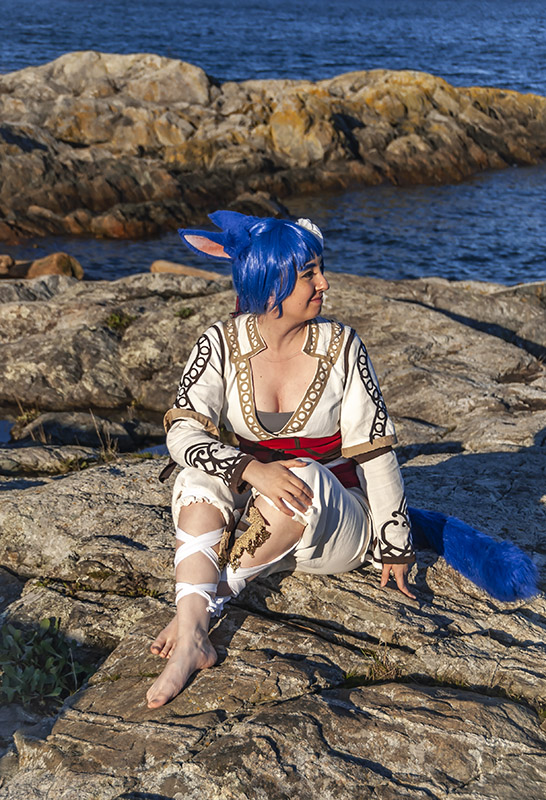
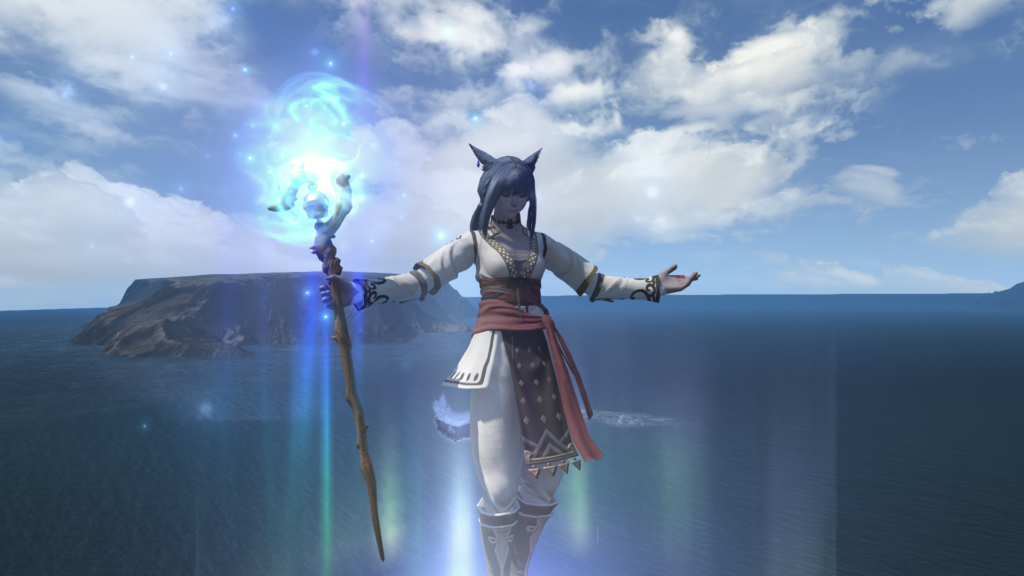
You can try to imagine these rocks are kind of near the Silver Bazaar, Rinala’s hometown?
Kitty likes sun : )
(even if she’s a desert moonkitty)
Miqo’te ears are really long (they barely fit in my tiny car, lol)
Credit and appreciation to my dad who took and edited these photographs!
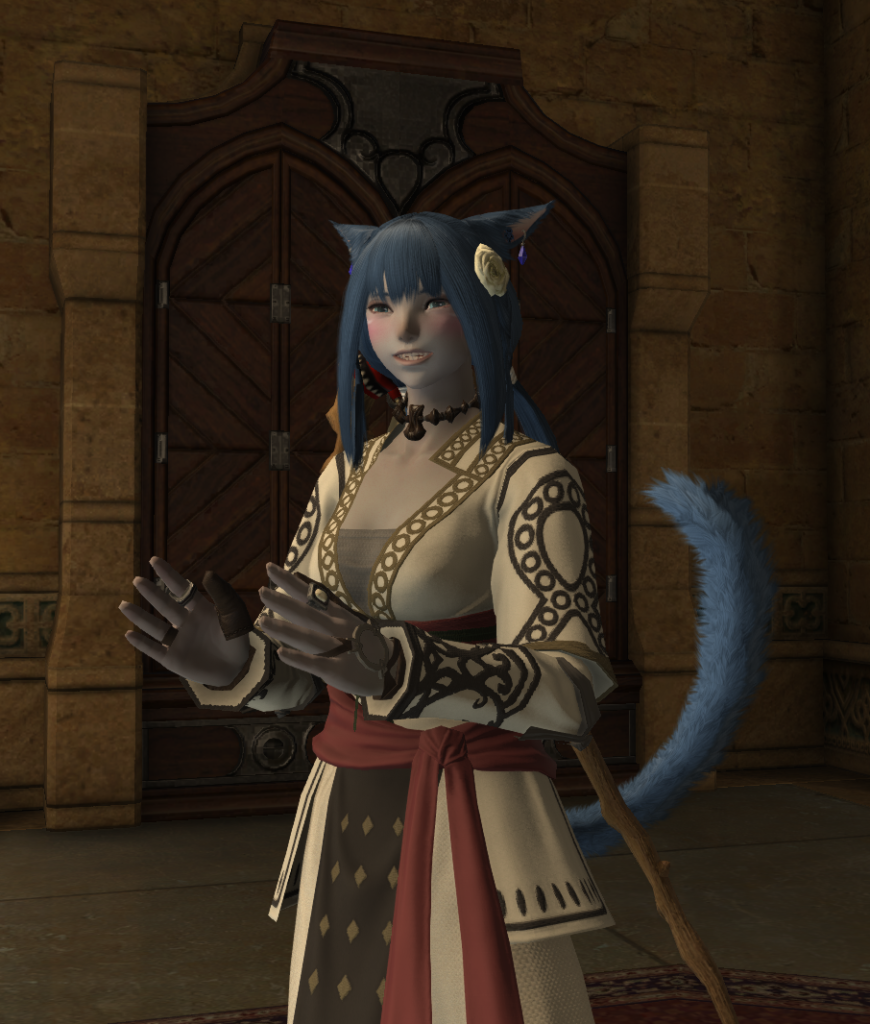
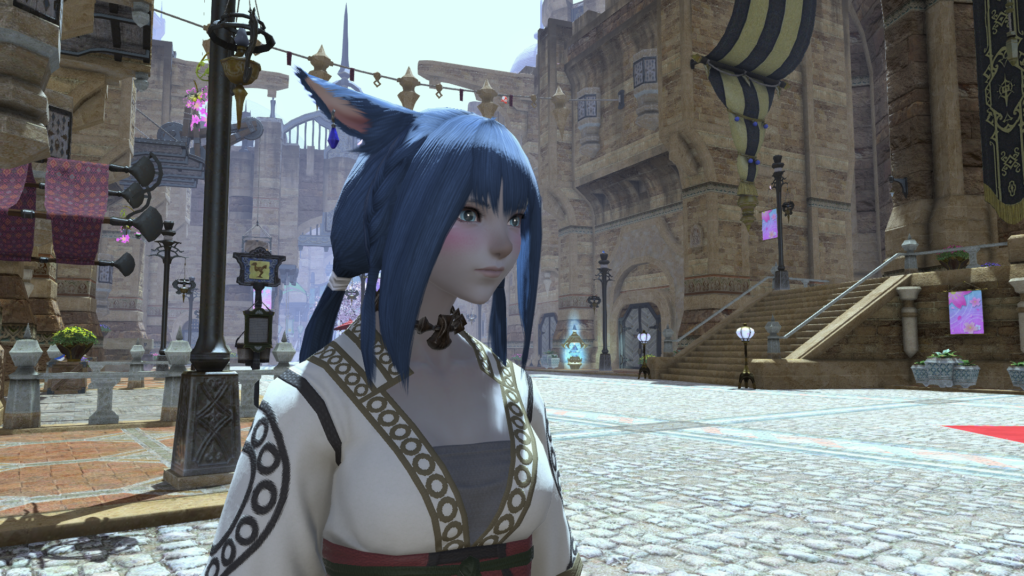
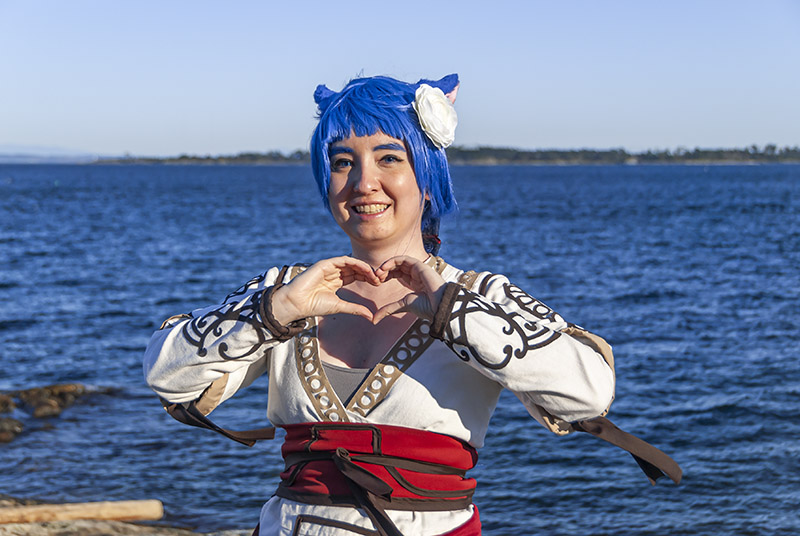
Rinala’s main glam outfit is the Oasis Tunic and Sarouel in Snow White dye, a Dried White Oldrose, and Moonfire Sandals in Snow White. I used the FFXIV Web Model Viewer a lot to help me with reference pictures, as I’m not currently subscribed to the game!
Rinala “Sweetwhisper” Ahto is a Keeper of the Moon Miqo’te from the Silver Bazaar on the west coast of Thanalan, the desert land. While she showed great promise in magic from her early teens, she chose not to study destructive Black Magic at the Arrzaneth Ossuary in Thanalan’s capital city of Ul’dah, but instead to journey to the forest city of Gridania and ask to learn healing White Magic at Stillglade Fane. She was accepted and became a gifted Conjurer.
The Ul’dah prologue of the game began upon her return to Thanalan after completing her studies at the age of 19, and soon she met Thancred, a mysterious handsome man who claimed to be studying the flow of magic in the region. She fell in love immediately and carries that affection, seemingly unrequited, loyally. (Spoilers: they will hook up eventually, but Thancred has a lot of issues to work through.) She eventually joined a party with Achiyo Kensaki and several others who together became known as the Warriors of Light for their deeds in slaying Primals and driving the Garlean Empire out of the land of Eorzea.
Rinala’s main skill is in healing magic as a White Mage. However, she is also pretty good at Black Mage, and has taken up Ninja in an effort to be more like Thancred. At 5.0, she takes up Dancer as well. She also learned Weaver from her mother, Botanist from her father, and Fisher from the neighbours in her tiny village.
Rinala is sweet, shy, naive, and entirely romantic. She doubts her suitability to be a Warrior of Light (at least until she does Coils of Bahamut, because if you can survive fighting level-synced Bahamut, you can survive anything), but as her adventure progresses she grows stronger both in skill and in spirit, though during the 4.x patches she had to take a break from adventuring as the stress got too much for her. She longs to be loved above anything else, and her family is very important to her, as is the safety and health of her new friends. Her idol since childhood is F’lhaminn, the Songstress of Ul’dah.
I actually had difficulty finding my Rinala screenshots, not because I didn’t take very many, but because I have literally tens of thousands of FFXIV screenshots of 5 different characters, and none of them are sorted. : P
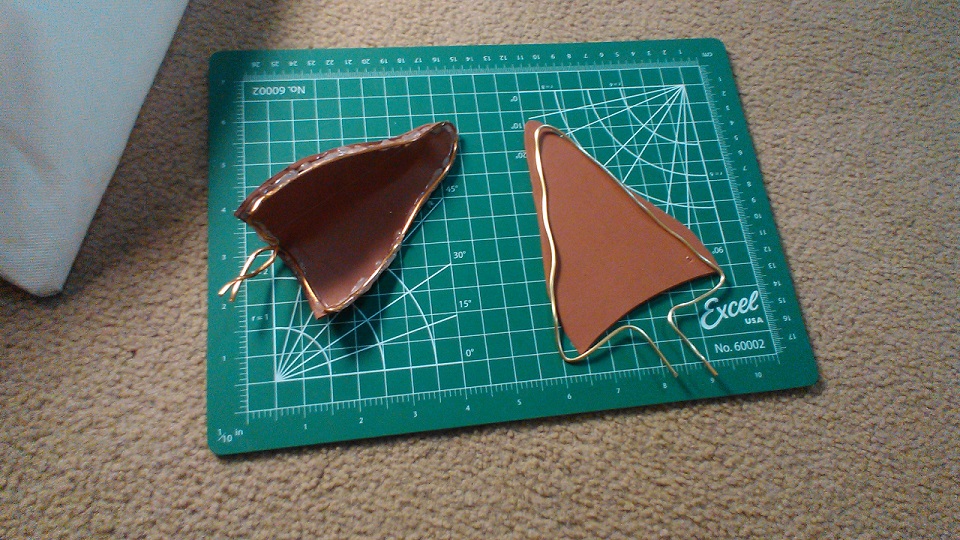
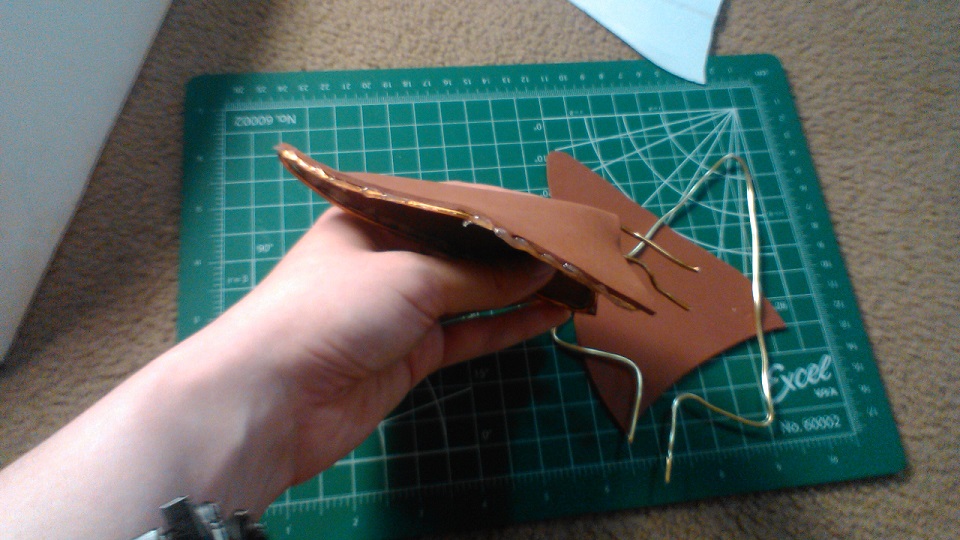
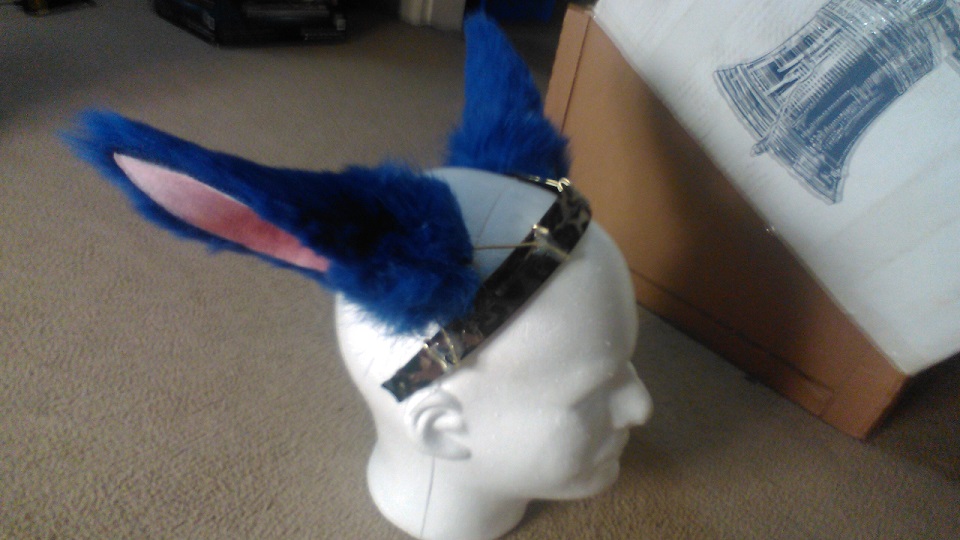
All of my progress shots are from my crappy old phone cam, I apologize. My first attempt at the ears was with craft foam and wire, following a YouTube tutorial. Also yes I like to work directly on the floor because my desk is always full and I’m a crouching weirdo.
I had thought it would be nice to have super-poseable ears, and at first the shape did look really nice.
However, they were very thick after adding a layer of fur to one side and a layer of felt to the other, and I couldn’t pose them the way that I wanted to.
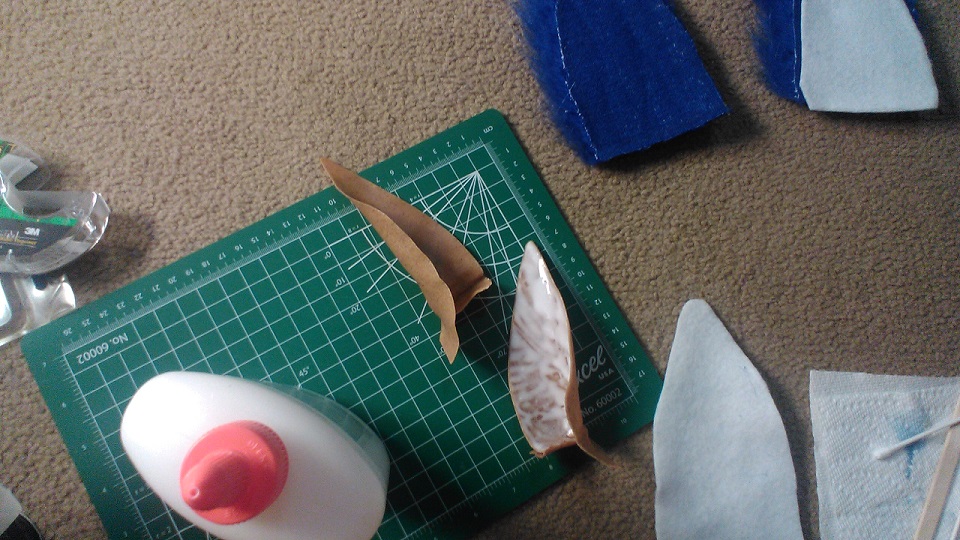
So I checked this other tutorial instead and used worbla. My dad helped me with airbrushing the interiors.
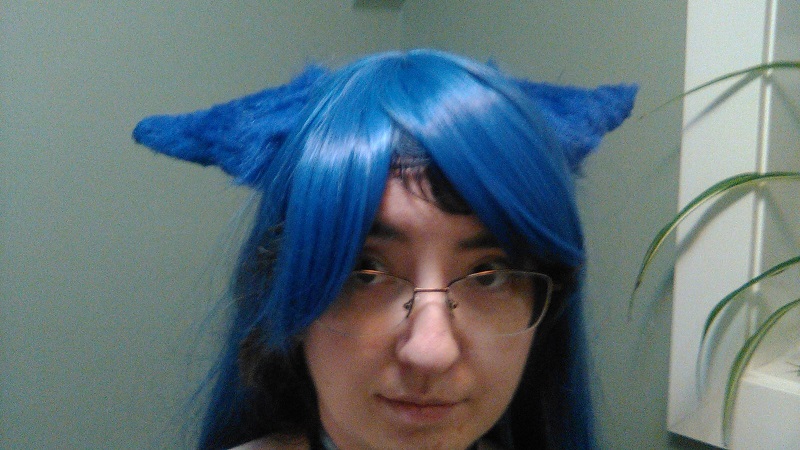
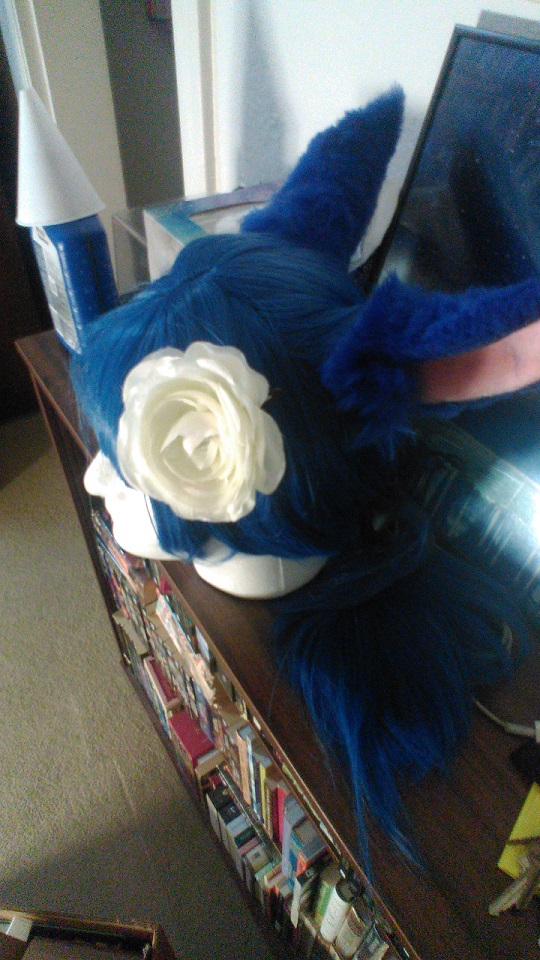
The modification I made was to attach the wires to a headband so that I could place the ears under the wig, instead of inserting through the top. I hoped it would give a more natural appearance. That’s one reason I don’t really like the look of the Cosgear Cosears product, when I see it the ears really look like they’re on top of the hair and that’s not how animals work. I think I still need to modify it a bit to really enhance it; I intend to make a fur cap that joins the ears under the wig and also covers my human ears. But it’s not super necessary so I didn’t bother for this time. Maybe for ComicCon!
Also I don’t actually wear the headband as a headband, it’s just there for support and goes loose inside the back of the wig. Headbands pinch my head, no matter how flexible they are.
The Dried White Oldrose was just a flower from the craft store hotglued to a barrette. This arrangement sat on my bookshelf for many months while waiting for October to roll around.
The wig was actually from the same place I bought my prescription coloured contacts: Pinky Paradise. While I would have liked to do the same hairstyle as seen in the screenshots, there just wasn’t enough volume to get four tails and two braids out of it (I have plans to buy another identical wig… if I can remember which one I bought the first time). In the meantime, I just put a bow on it to imitate the Lexen-tails hairstyle as Rinala will switch to that style at some point in the story.
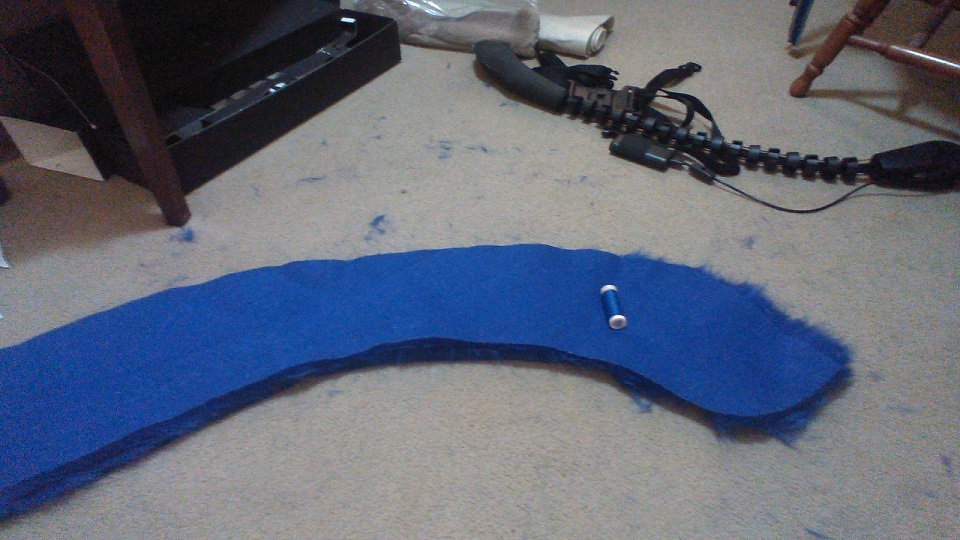
The tail was both straightforward and annoying; the fur was difficult to sew together, and because I wanted a very long tail, the tip of it kept pointing in the wrong direction when wearing it. In the background you can see the Costail, but after all this I’m not really a fan of it. My critiques include:
– flimsy packaging: the inner cardboard insert didn’t really help keep the spinal pieces in place and the USB charging adaptor is so small I almost thought it didn’t come in the box, as it was packaged loose instead of in, say, the smaller internal box that held the instruction booklet.
– inadequate instruction booklet: it had the instructions for assembling the tail, but for instance didn’t explain anything about the power button (you have to push it twice to turn off, a fact which is mentioned nowhere and frustrated me for far too long). For any issues the booklet referred users to their website and youtube, but what if the user isn’t currently connected to the internet? What if users don’t like video tutorials and find booklets more convenient?
– the long wires bend permanently too easily: good thing they include four! But it also means that the tail must generally stay straight out behind me, which can be an issue when sitting in, say, a church pew, or even a regular chair.
– the hip belts don’t stay low enough around the hips, maybe especially if you have some curves in that area, when walking or sitting.
– the motorized sway is negligible on the long-length tail. While the simple motorized strings are a good idea to try and make it work reliably, they’re not strong enough to make the movement interesting, and the movement is only in one direction anyway. The internal gyro also seems to have difficulty registering my movements. Perhaps I could mitigate some of these problems by using the shorter tail length (which appears to work fine), as it doesn’t seem that the long tail length really works as intended. The one benefit is that the weight of the tail’s spine will naturally give the tail a realistic sway, so while I was wearing it I would often just leave the motor off and sway my hips to make the tail move. But I don’t think that I should have to pay as much as I did just for a spine that doesn’t swing the tail for me.
– why does it have to be user-assembled anyway?
I will probably get a tail from The Tail Company next time, theirs appear to be more flexible in several different ways. (also cheaper)
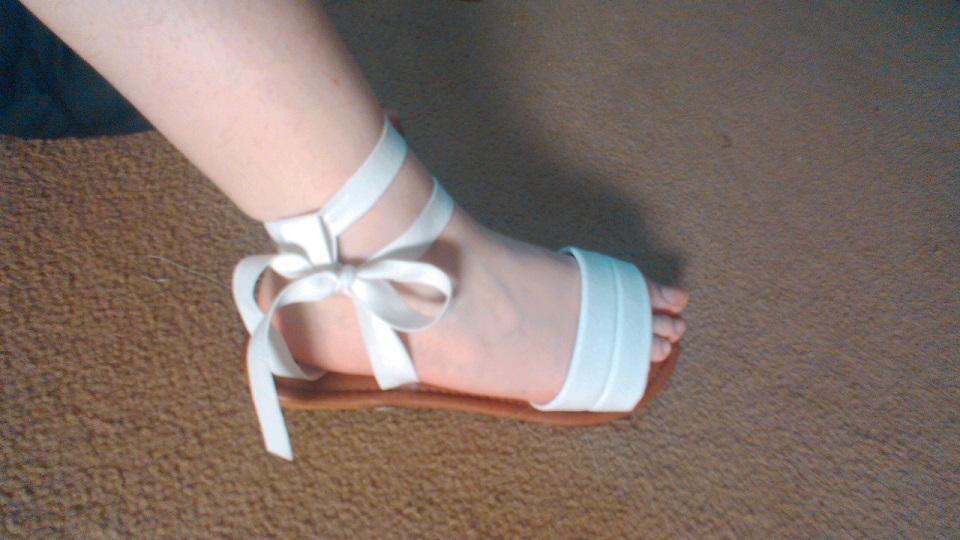
The Moonfire Sandals were made from sandal soles from the thrift store that I removed the original straps from (Aldo soles), plus my own straps that I made from microsuede. It turns out hotglue is not adequate to keep the straps on so I tried to sew the straps on, but they’re sewed to the decorative stitches in the sole top so I don’t know how secure it really is. My dad said something about Epoxy cement or something so I might try that next if they break again. Finding square buttons was a real challenge, apparently that’s mostly a vintage thing these days. But I did manage to find some coconut buttons on Etsy that looked close enough. Also you have to tie the straps really tightly around your ankles in order to keep them on, they’re kind of like flip-flops but terrible.
I don’t have any pictures of assembling the pants, but the lady at the fabric store, when I told her what I was doing, gave me the advice of just making two tubes of fabric and then putting a strip of fabric for a gusset in-between, referring to medieval braies. I trimmed it down in the front (though in hindsight… literally? – it should have been the back, I was trying to mitigate some folds and ended up making others worse). There is a tail-hole, so I can’t wear this for cosplaying any other race except Miqo’te, hahaha.
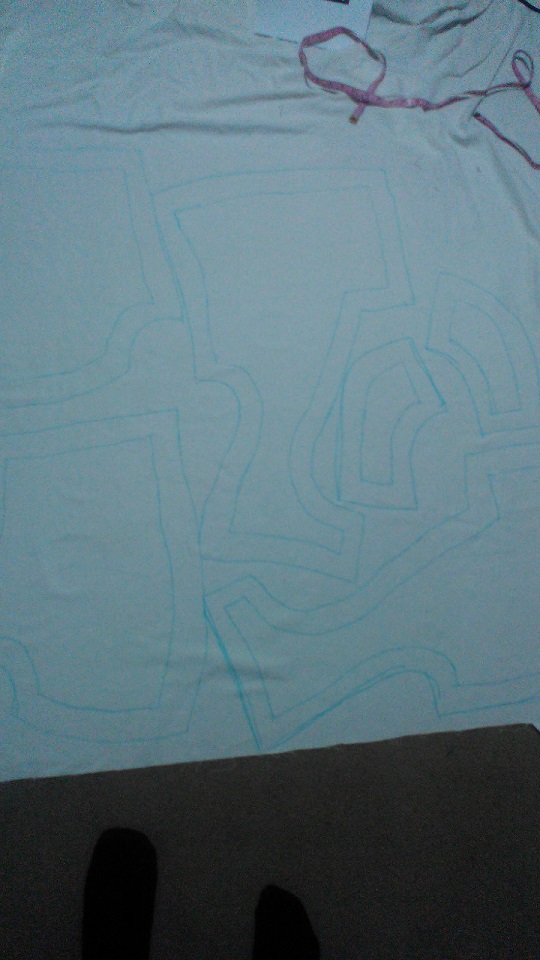
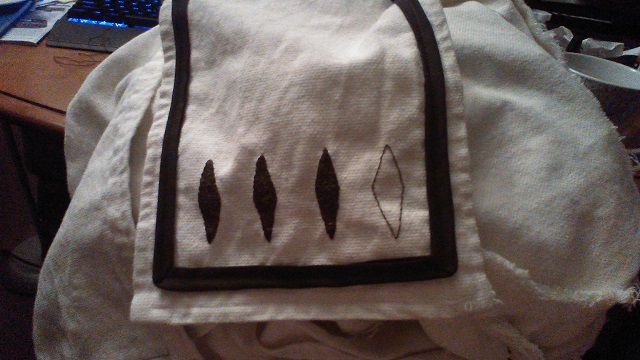
The apron on the pants took a ridiculous amount of time. I successfully made this pattern from a screenshot traced onto fabric and glued it to the apron… using white glue, which soaked through and made spots. So I had to embroider over it. (The part that kills me is that it’s slightly the wrong colour. Oops!) That was about 12-15 hours of work, which is when I started listening to Critical Role on a regular basis. (I can’t watch/listen to CR unless I have something for my hands to do, or I get super bored.)
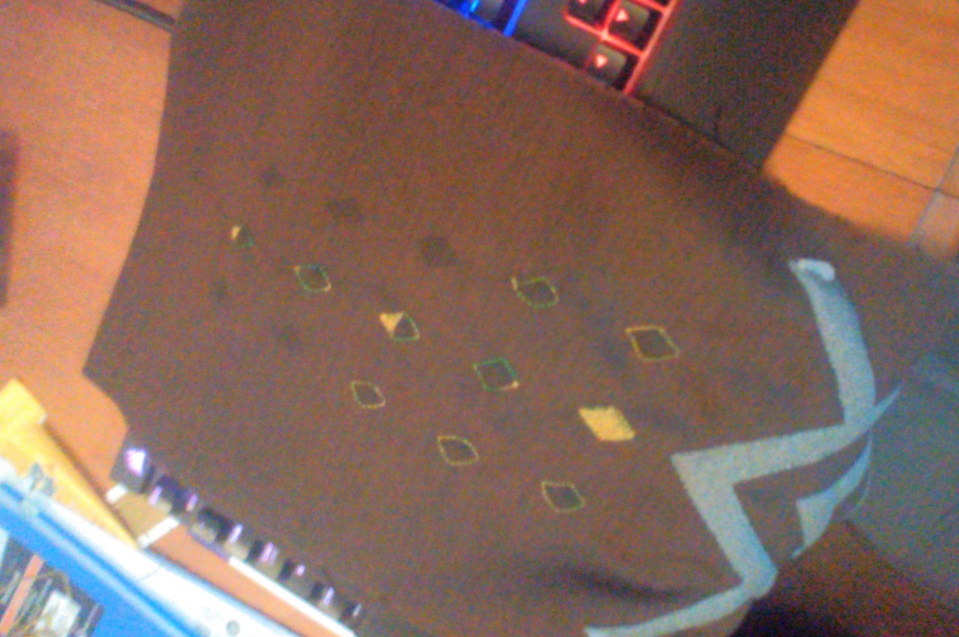
I did not (and still do not, even after looking) have an adequate tool for marking dark-coloured fabric so I used my regular fabric marker and turned a screenshot into a stencil to transfer the pattern onto the apron. It was so very difficult to place the stitches in exactly the right spot, trying to guess exactly where the marked part ended… After all the embroidery in this project, I kind of want an embroidery sewing machine… (each of these diamonds took between 30-90 minutes) The green colour is from when I started embroidering when the marker ink was still wet, but it’s removable with water.
Once that was done, I could FINALLY sew up the apron and add the trim to the bottom. I couldn’t find any sort of metal craft thing I could manipulate to make it look like the ingame model, so I used shiny lace (with a backing of gold vinyl for added shimmer). The bead trim along the bottom was a bit frustrating – first of all, no one makes downward-pointing triangular pendants, and second of all, they kept falling off. I lost like 4 of them on two occasions (actually 6, but I recovered 2) before I got miffed and left the thread tails like an inch long so there was no way the knots were coming undone. It looks messy if you notice it, but since it’s on the back of the apron, it’s not super likely that you’ll notice it unless you know what to look for.
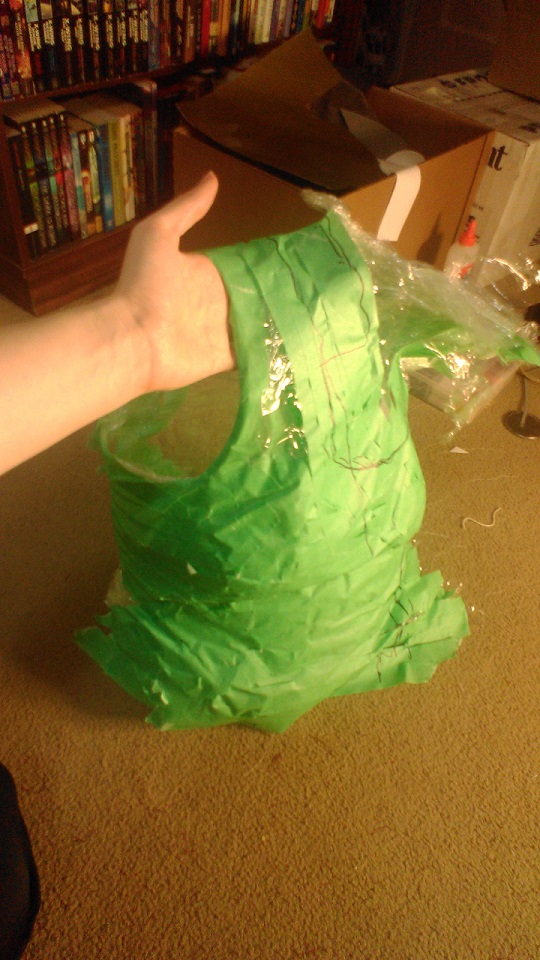
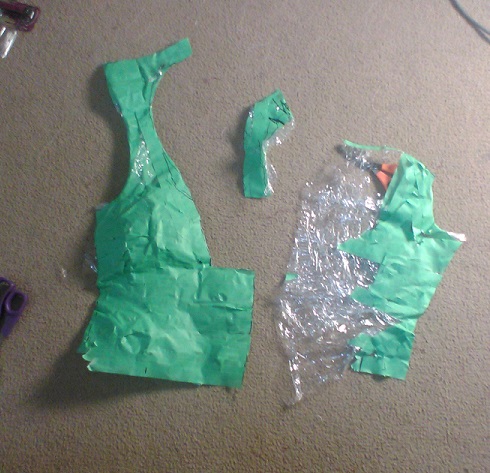
The top was the scariest part, but I started by following what many guides say to do and wrapping myself in cling wrap. Then I taped over it with painter’s tape (which was about all I had on hand for the purpose, but it worked fine) which was a bit of a struggle to reach on my back since I’m working alone. Drew on my body with marker, cut myself free, et voilà.
Cut apart it doesn’t look like much, but I had enough info to make a pattern out of:
I left A LOT of seam allowance because I had tried to lighten this fabric with bleach (it was just a shade too dark for what I wanted, originally) and I didn’t want to mess up and have to go get more fabric and try to match it.
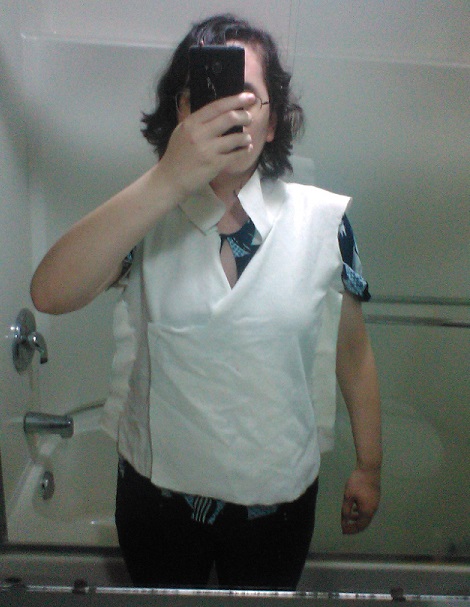
A shapeless sack! This was just pinned together for a test, no seams yet. But I fit into it, and that was the important thing.
I didn’t take pictures of the rest of the assembly, but it came together in stages: the body/collar first, then I think the coat-tails, and finally the arms with their double sleeves. When that was done, I sewed on the brown trim and prepared to do one of the scariest parts.
But first I made the belts. This belt used some fabric left over from Akuliina’s outfit, plus some brown trim and some hook closures. Did you notice that the ingame model doesn’t have a seam on this belt? It magically wraps around the character with no way to get in or out!
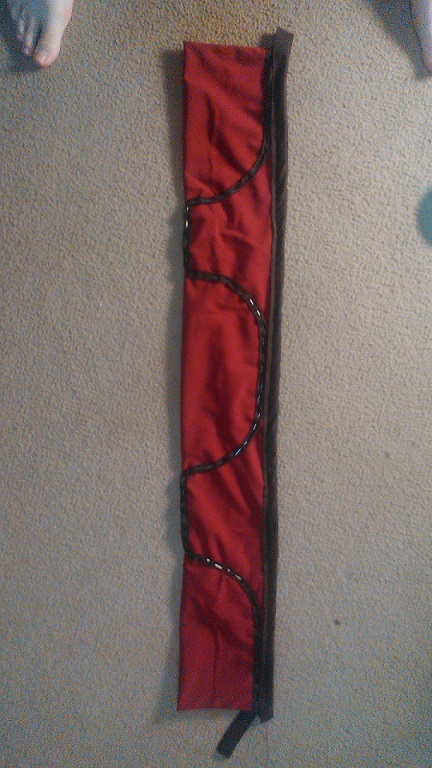
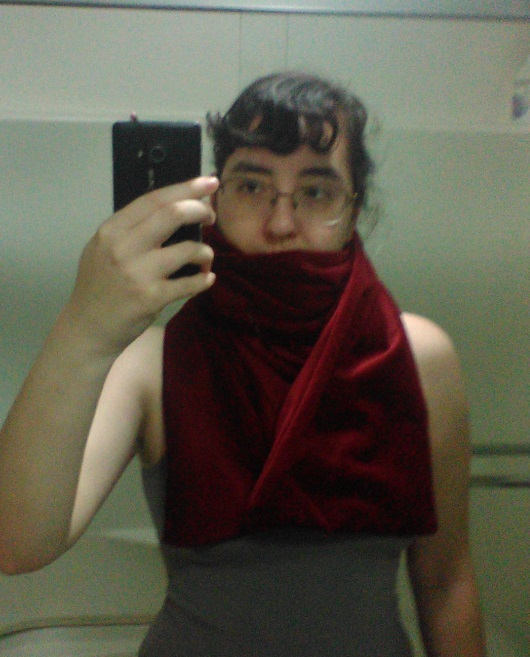
I made the sash from velvet – I was hoping for something else, but the fabric store didn’t have anything more suitable. At first I made it double-sided, but that made it so thick that I decided to use it as a scarf instead:
It’s long enough to wrap twice around my neck. The single-sided version worked a lot better as an actual sash. (the selfie above also shows the grey tank-top I’m using under the cosplay)
Next came one of the most interminable parts of the whole project: the diamonds on the tails of the outfit. And I did all 24 of them, no cheating. Each of these took 2-2.5 hours to do, that’s at least 50 hours right there.
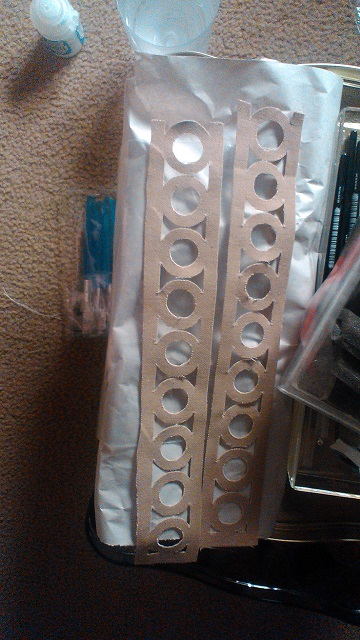
The scariest part of the whole project though was the more fanciful trim. But this turned out a bit easier than you might think. I made patterns using my paint program, which was pretty easy for the ‘lines and circles’ bits (bit harder for the swirly sleeve designs, that took me a few hours, a bunch of screenshots, and a lot of grumbling at the line vector tool). Then I sent them to my dad, who has a Cricut fabric/paper cutting machine, and who was happy to put it to use for me because my parents kind of bought it without any specific intentions in mind? Then (because I didn’t put applique paper on the back of the fabric before I cut it, derp) I coated the cut out pieces in fabric glue to ensure they wouldn’t fray, and glued them to the outfit with more glue. They’ve held up extremely well. Still, they were the last things to go onto the outfit, as I was a bit afraid about it. If I had another hundred hours or two, I might embroider these designs as well. Something to do while watching the rest of CR campaign 2, perhaps?
One of the things I really like about this outfit is that: if I didn’t have to put in contacts/ears/wig/tail (you know, like Rinala doesn’t have to do if she were a real person), it would be as easy as putting on clothes, which was one of my intentions in making it. I wanted an outfit that didn’t look like a costume; I wanted an outfit that looked like someone made it with the intention of wearing it on a daily basis. And I think I succeeded. (also I used blue eyeliner to make my eyebrows blue, in case you were wondering about that bit.)
One of the places I wore this outfit to this October was the local RCCO Halloween pipe organ concert, at which I played my own arrangement of Bloody Tears from Castlevania. I managed to snag an okay recording while I was practising; I’m half in costume to make sure the tail wouldn’t bother me on the organ bench (and yes I’m wearing my DRK mask).
Two months of solid work? Worth it.
It is hard for me to fathom how much skill, labour, persistence, research and love you put into making this costume! You are simply amazing, Jennifer!
You obviously really enjoyed working on this and so nice of your Dad to work with you. The pictures are stunning!!
Hope you are keeping well. You are still the most talented organist we have ever had at Holy Angels’ and I’m sure your skills are consistently getting even better!
Best wishes always!
Antonette
Thank you very much! It’s a fun hobby, and I already have plans for next year.
I am well, thanks! I’m very busy with my many music jobs. I hope you are well too!
Fabulous photography all that water and natural landscape behind you makes your costume really stand out. You look great in your creation and it is nice to see you. Thank you for sharing and keeping in touch.
Ursula
Thank you! The west coast is really good for natural locations!